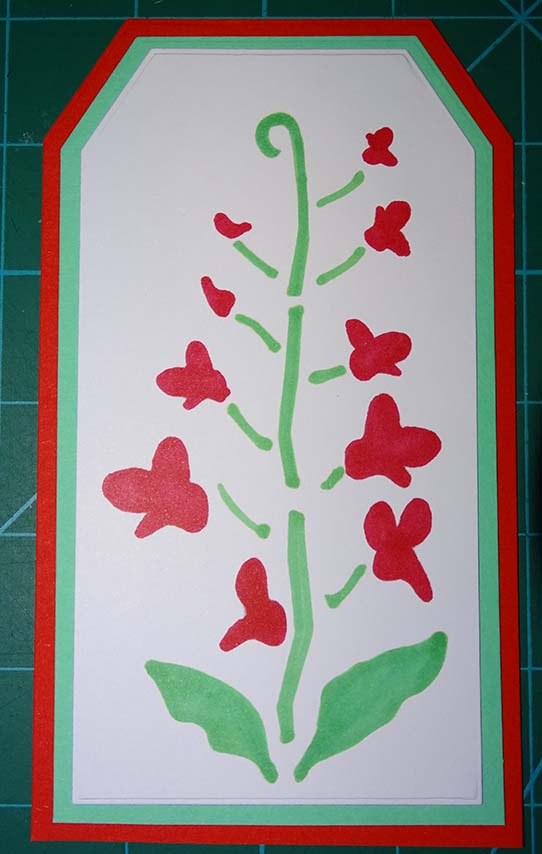
Learn the art of stencil cardmaking with felt pen/marker pen colouring.
In the art/craft of stencilling, the stencil design can be coloured-in to create a spectacular work of art. Different medium/media can be use.
Today, Our project is simply fill-in colouring with markers.
Materials needed
Stencil: Plaid craft stencil- Floral and butterflies WM30730E
Cardstock: white, dark red, green
Tag dies- to cut-out shapes( optional )
Die-cutting and embossing machine: if using dies to cut out the shape
Marker pen: green, dark red
Paper punch: hole- ( to put ribbon through)
Masking tape
Liquid glue: uhu or glue of choice

Instructions
Step 1: Place the stencil on white cardstock and hold with a masking tape.
Step 2: Colour the flowers with dark red. colour the leaves and stem with green.


Step 3: Remove the masking tape and stencil.
Step 4: Place the die ( If using dies to cut out the topper) on the painted stencil design card and then cut using the die-cutting machine.


Step 5: Place liquid glue at the back of the coloured stencil design tag( white cardstock) and then glue to the green tag shape. Glue to the dark red tag.


